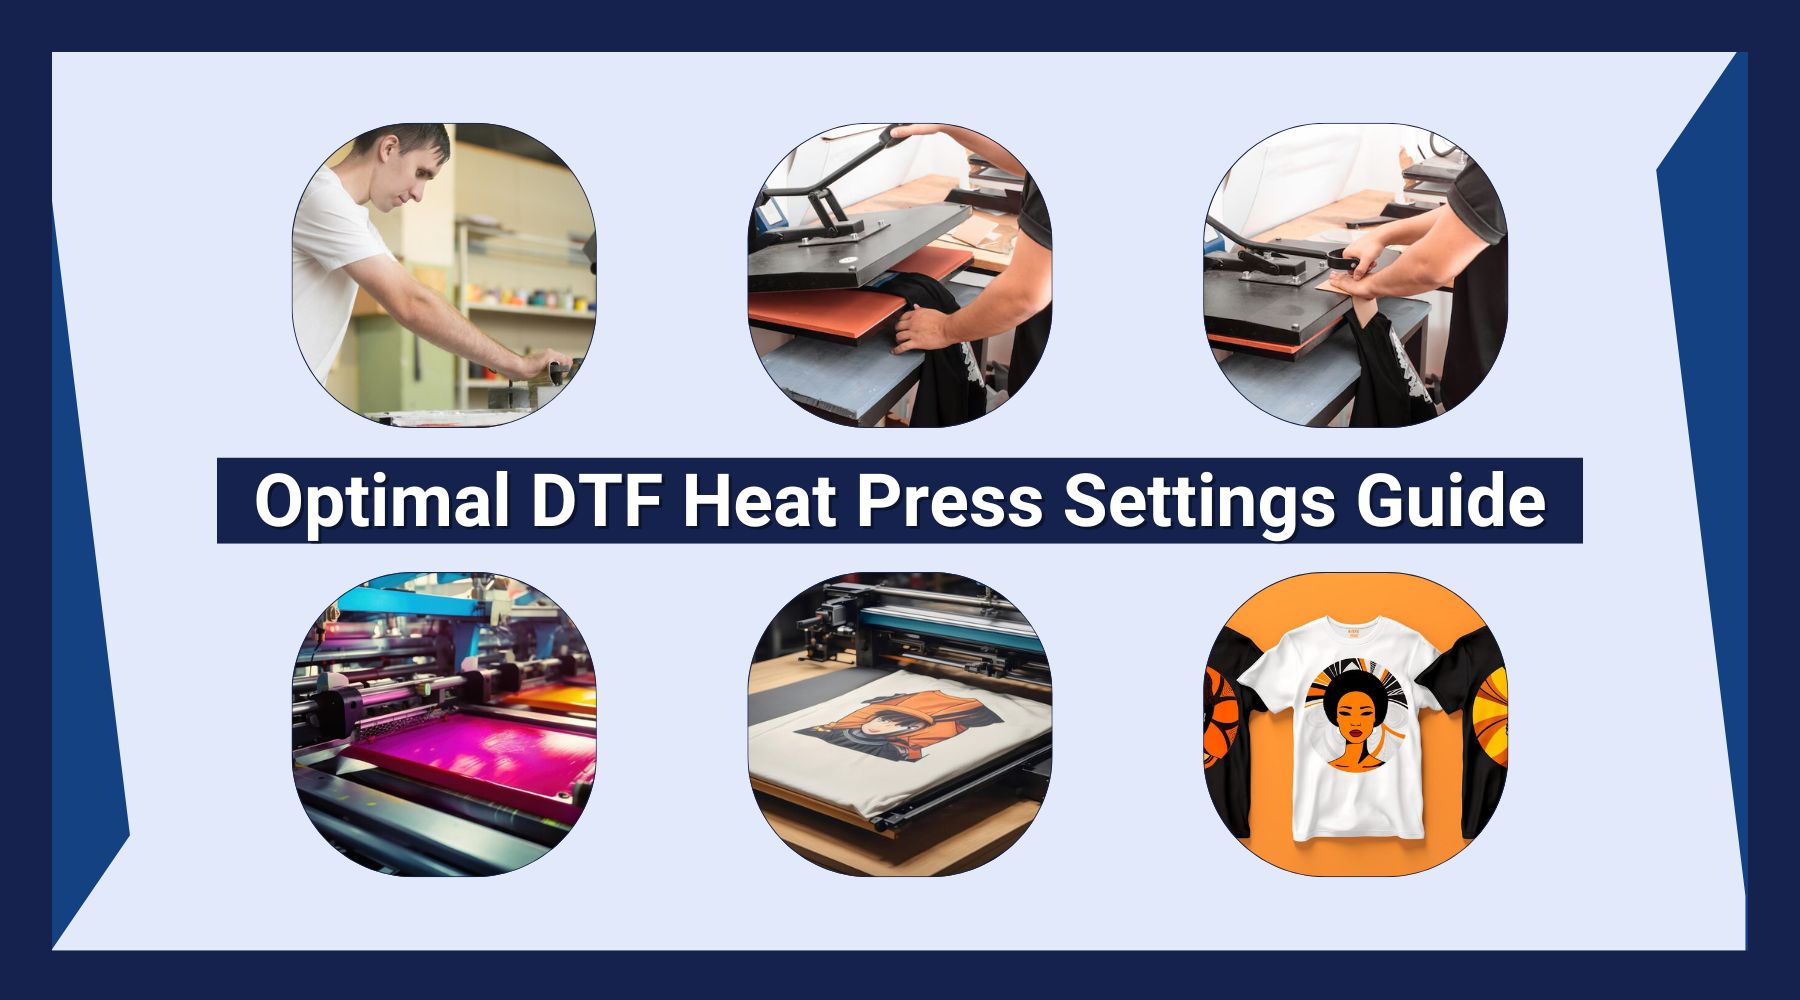
Understanding the proper heat press settings is the key to perfectly using the Direct to Film (DTF) transfers on t-shirts. Do you want to transfer DTFs flawlessly? Everything you need to know to get perfect results is covered in this guide on "Optimal DTF Heat Press Settings".
Read the article to find out the best times, temperatures, and methods to press your DTF transfers. To guarantee vivid, long-lasting prints on a range of materials, we have offered complete instructions here.
Understanding DTF Transfers
DTF (Direct-to-Film) transfers revolutionize custom printing by providing vibrant and durable prints on a variety of fabrics. These transfers ensure that designs remain vivid and intact, even after multiple washes. With their versatility and longevity, DTF transfers are a game-changer for creating high-quality, custom apparel. Their ease of application and superior finish make them a top choice in the industry.
Why DTF?
Vibrant Colors: DTF transfers produce high-quality, vibrant prints with rich colors and sharp details.
Versatility: These transfers are suitable for various fabrics, allowing for customization beyond t-shirts, including cotton, polyester, and blends.
Durability: The prints are long-lasting and can withstand multiple washes without fading or peeling, ensuring your designs remain intact over time.
Also Read: How To Heat Press DTF (Direct to Film) Transfers on T-Shirts
DTF Heat Press Settings

First Press: Temperature and Time
- Temperature: Set your heat press to 300-315°F.
- Time: Press for 10-13 seconds.
- Pressure: Apply firm pressure to ensure the transfer adheres properly.
Peel Methods
- Cold Peel: Allow the transfer to cool completely before removing the film.
- Hot Peel: Remove the film immediately after pressing with a swift motion.
- Warm Peel: Gently peel the film while it’s still warm.
Second Press: Temperature and Time
- Temperature: Set your heat press to 300-315°F. (if you have apparel made of different materials than Cotton and Cotton/Poly blends, please checkout our Website instructions.).
- Time: Press for 3-5 seconds.
- Pressure: Apply firm, even pressure to ensure the design adheres smoothly.
Printer Settings for DTF Film
Optimal printer settings are crucial for ensuring high-quality prints. Adjust the ink density, color saturation, and resolution settings according to your printer’s specifications to achieve the best results.
DTF Transfer Instructions

- Prepare the Design: Use graphic design software to create or upload your design.
- Print the Design: Print the design onto DTF film using a DTF printer.
- Apply Adhesive Powder: Sprinkle adhesive powder onto the printed film.
- Melt the Powder: Cure the powder using a heat press or an oven.
- Heat Press the Design: Follow the first and second press instructions for optimal results.
Also Read: Tips for Optimizing Artwork for DTF Transfer
Common Issues and Solutions
Finding the right prints while experimenting with DTF (Direct-to-Film) transfers might be difficult at times. Common problems might develop that have an impact on the finished product, even with top-notch materials and professional supervision. Fortunately, there are simple fixes for these problems that will assist you in getting the vivid, long-lasting prints you want.
Let’s take a look:
Transfer Not StickingFinding the right prints while experimenting with DTF (Direct-to-Film) transfers might be difficult at times. Common problems like transfers not sticking can occur even with high-quality supplies and professional advice, which can affect the final product's durability and beauty.
- Solution: Ensure even pressure and correct temperature. Double-check the fabric type and adjust settings accordingly.
Design Fading:
Creating vibrant and long-lasting designs with DTF transfers can sometimes be tricky. Issues such as design fading can occur if the process isn't executed perfectly, affecting the quality and durability of your prints.
- Solution: Verify that you’re using the correct time and temperature settings. Ensure the adhesive powder is properly melted and cured.
Tips for Perfect DTF Transfers
- Experiment: Different fabrics may require slight adjustments in temperature and time.
- Maintain Equipment: Regularly clean and maintain your heat press and printer for consistent results.
- Practice: The more you practice, the better you’ll understand the nuances of your equipment and materials.
Mastering DTF heat press settings is key to producing vibrant, durable, and high-quality prints on various fabrics. By following the optimal temperature, time, and pressure guidelines, you can achieve flawless results every time.
Ready to take your custom t-shirt business to the next level? Get in the world of DTF transfers at DTFIL Find top-notch supplies and expert advice to create stunning, long-lasting prints with ease. Visit us now and start transforming your designs with unmatched quality and creativity!
FAQs About DTF Heat Press
What temperature do you heat press DTF at?
For the first press, set the heat press to 300-315°F. For the second press on polyester, use 250-275°F.
What setting should my heat press be on?
Use firm pressure and the recommended temperatures for your fabric type to ensure the best adhesion and durability.
Can you press DTF too long?
Yes, pressing too long can cause the adhesive to over-melt, leading to poor adhesion or damage to the fabric.How to press DTF transfers with a heat press?
Follow the steps for the first and second press, ensuring the correct temperature, time, and pressure settings.
What are the printer settings for DTF film?
Adjust ink density, color saturation, and resolution according to your printer’s specifications for optimal results.
