Printing custom apparel is no longer limited to big factories or professional print shops. With the rise of DTF printing (Direct-to-Film), anyone can learn how to print own t-shirts at home or in a small studio setup. Whether you’re planning to start a side business, create personalized gifts, or simply explore your creativity, DTF technology makes the process efficient, cost-friendly, and versatile.
This guide explains the step-by-step DTF t-shirt printing process, the equipment you’ll need, and practical tips to get your designs looking professional. Let’s walk through everything you should know before starting.
Why Choose DTF Printing for T-Shirt Customization?
DTF has quickly become one of the most reliable methods for custom t-shirt printing because of its flexibility and quality. Unlike traditional screen printed t-shirts, which require large setups and multiple steps, DTF works on almost any fabric, cotton, polyester, or blends, without the need for pretreatments.
Some major benefits of DTF t shirt printing include:
-
Durability – Prints last long without cracking or fading.
-
Vibrancy – White ink and vivid colors create sharp designs.
-
Versatility – Works on dark or light fabrics and a wide range of clothing items.
-
Cost efficiency – Perfect for bulk t-shirts for printing or small-batch orders.
If you’ve ever looked up “t-shirt printing near me” or explored custom print t-shirts services, you’ll know how expensive and time-consuming it can get. With DTF, you can bring production in-house and cut costs significantly.
What Do You Need for DTF Printing?
Before diving into the process, let’s cover the essential printing t shirt equipment required. Setting up a small DTF workstation doesn’t have to be overwhelming if you start with the basics.
-
DTF Printer – Invest in a quality printer designed for fabric printing. Entry-level options are available, but if you’re just beginning, the best DTF printer for beginners will save you time and errors.
-
DTF Film and Powder – The design is printed onto a PET film, then coated with adhesive powder. This powder bonds the design to the shirt during heat pressing.
-
Heat Press Machine – A must-have for transferring the print onto the fabric. Correct DTF heat press settings (temperature, pressure, and time) ensure durability.
-
DTF Inks (Including White Ink) – Special inks designed for textile applications. White ink plays a critical role in making designs pop on darker fabrics.
-
Curing Oven or Heat Source – To melt the adhesive powder and cure the transfer sheet before pressing.
-
Software for Design – Any graphic design tool, like Photoshop, Illustrator, or a free alternative, to create or edit artwork.
While you may come across tutorials on how to print t-shirts at home using DTF with makeshift tools, having the right setup is key for professional results.
Read More Blog: How to Make Custom T-Shirts at Home?
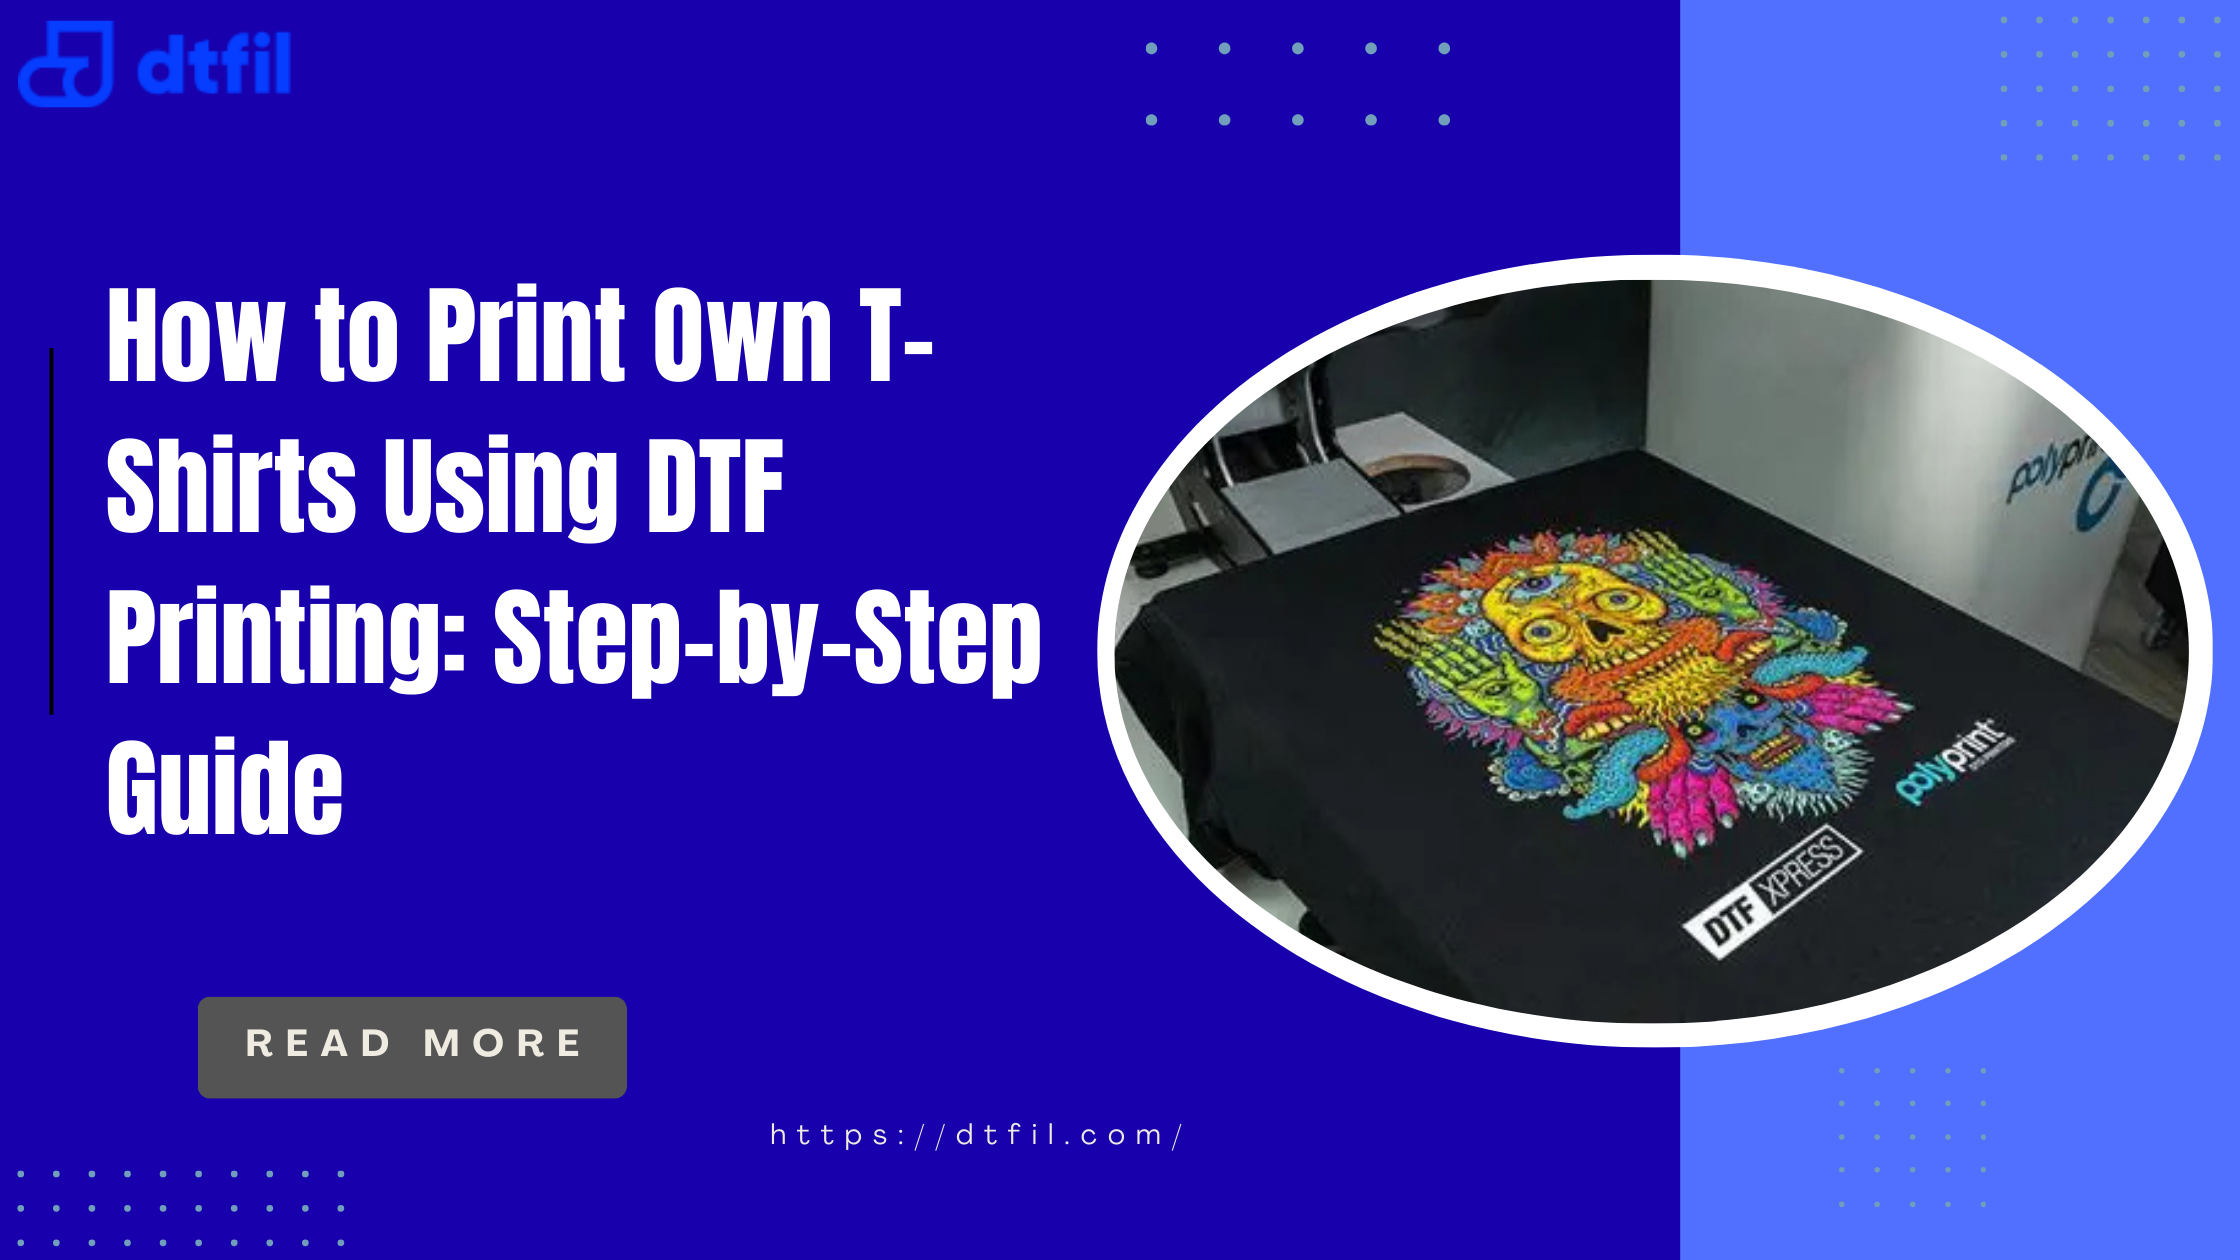
Step-by-Step Guide: How to Print Own T-Shirts with DTF?

Now let’s break down the full workflow into clear steps. Think of this as your DTF printing tutorial for beginners:
Step 1: Create Your Design
Start with a high-resolution digital design. Bold graphics, text, or detailed artwork all work well with DTF. Save your file in a compatible format (PNG with transparent background is ideal).
Step 2: Print on DTF Film
Load the PET film into your DTF printer for clothing and print your design. The printer will first lay down white ink as a base layer, followed by the colored inks. This ensures the design looks sharp on both light and dark fabrics.
Step 3: Apply Adhesive Powder
While the print is still wet, evenly spread DTF powder over the design. Shake off the excess. The powder sticks only to the printed areas and later acts as the glue that binds the ink to the fabric.
Step 4: Cure the Print
Place the film in a curing oven or under a heat source to melt the adhesive powder. This step preps the transfer so it’s ready for pressing. Make sure the curing process follows recommended times to avoid over- or under-heating.
Step 5: Heat Press the Design
Position the film onto your t-shirt with the design facing down. Set your heat press to the right DTF heat press settings (usually around 160–170°C for 15–20 seconds, but always check the manufacturer’s instructions). Apply firm pressure to ensure proper adhesion.
Step 6: Peel and Finish
Once cooled slightly, peel the film away carefully. You’ll see your design fully transferred to the fabric. For extra durability, some people do a second quick press with parchment paper on top of the design.
That’s it—you’ve just completed your first full body exfoliation—correction, your first full t-shirt printing process using DTF!
Tips for Best Results in DTF Printing
Getting consistent results takes practice. Here are expert DTF printing tips to refine your output:
-
Always use high-quality DTF transfer sheets to avoid smudges or incomplete transfers.
-
Calibrate your printer regularly for accurate color matching.
-
Experiment with small designs first before working on bulk t-shirts for printing.
-
Store films and powders in a cool, dry place to prevent clumping or spoilage.
-
Avoid rushing the curing process; uneven curing leads to weak transfers.
DTF vs Screen Printing: Which is Better?

A common question beginners ask is whether DTF is better than screen-printed t-shirts. The answer depends on your needs:
-
Screen Printing is great for large batches with simple designs. It produces long-lasting prints but requires costly setup and space.
-
DTF Printing is more versatile, ideal for detailed artwork and small-to-medium batches. No screens, no mess, and you can print as many colors as you want in one pass.
For small businesses, startups, or hobbyists exploring how to print own t-shirts, DTF often comes out ahead.
Costs Involved in DTF Printing
How much does it cost to make a printed t-shirt? Compared to outsourcing custom t-shirt printing services, the DIY DTF route can save money.
-
Printer Investment: A good DTF printer for clothing ranges from entry-level models to professional ones.
-
Consumables: Film, powder, and ink add a small per-shirt cost.
-
Heat Press Machine: A one-time purchase that pays off quickly if you’re producing regularly.
On average, the consumables for one t-shirt cost much less than ordering from a print shop near me, t-shirts service, especially when printing in bulk.
Final Thoughts: Start Your Own T-Shirt Printing Journey
Learning how to print your own t-shirts using DTF gives you the freedom to create apparel that’s unique, affordable, and professional. From gifts to startup businesses, the opportunities are wide open. Focus on building a solid workflow, investing in reliable DTF printing equipment, and practicing your technique.
If you’re ready to dive in and explore printers, films, and powders, check out DTFIL’s collection of DTF printers and supplies to get started today.
FAQs
Q: Can I print my own t-shirts at home?
Yes, with a proper DTF printer setup, film, powder, and a heat press, you can print at home or in a small studio.
Q: What do I need to screen print my own t-shirts?
Screen printing requires mesh screens, emulsion, inks, and a lot more space. For beginners, DTF is much simpler.
Q: Can I use a regular printer to make t-shirts?
No. Regular printers don’t support textile inks. You’ll need a DTF printer for clothing or other specialized equipment.
Q: How much does it cost to make a printed t-shirt?
Depending on the design and size, consumables cost a few dollars per shirt—much cheaper than custom t shirt printing services.
Q: How to design and print your own t-shirts?
Use design software to create or edit artwork, then follow the DTF printing workflow outlined above.
Read More Blog: