The magic of DTF printing lies in its ability to create vibrant, durable transfers for almost any fabric. However, that magic isn't complete without one critical step: curing. Proper curing is what transforms a powdered image into a permanent, wash-resistant design. Skipping this step or doing it incorrectly can lead to cracked, faded, or peeling prints.
This comprehensive guide will walk you through exactly how to cure DTF prints properly, ensuring professional results every time.
Why Curing is Non-Negotiable in DTF Printing
After you print your design onto the PET film and apply the DTF powder, you have a delicate, uncured transfer. The curing process serves two essential functions:
-
Activating the Adhesive: The hot-melt adhesive powder needs to be melted at a specific DTF curing temperature. This liquefies the powder, allowing it to fully encapsulate the ink particles and form a strong, flexible layer.
-
Bonding Ink and Adhesive: Melting the powder fuses it with the ink, creating a single, durable transfer sheet that is ready to be pressed onto a garment. Without proper curing, the powder will not adhere correctly, and the transfer will fail to bond with the fabric.
In short, curing is the vital link between printing and pressing. Getting it right is the difference between a transfer that lasts for two washes and one that lasts for years.
The Two Main Methods for Curing DTF Prints
There are two primary pieces of equipment used for how to cure DTF powder: dedicated curing ovens and heat presses. Each has its pros and cons.
Method 1: Using a Dedicated Curing Oven
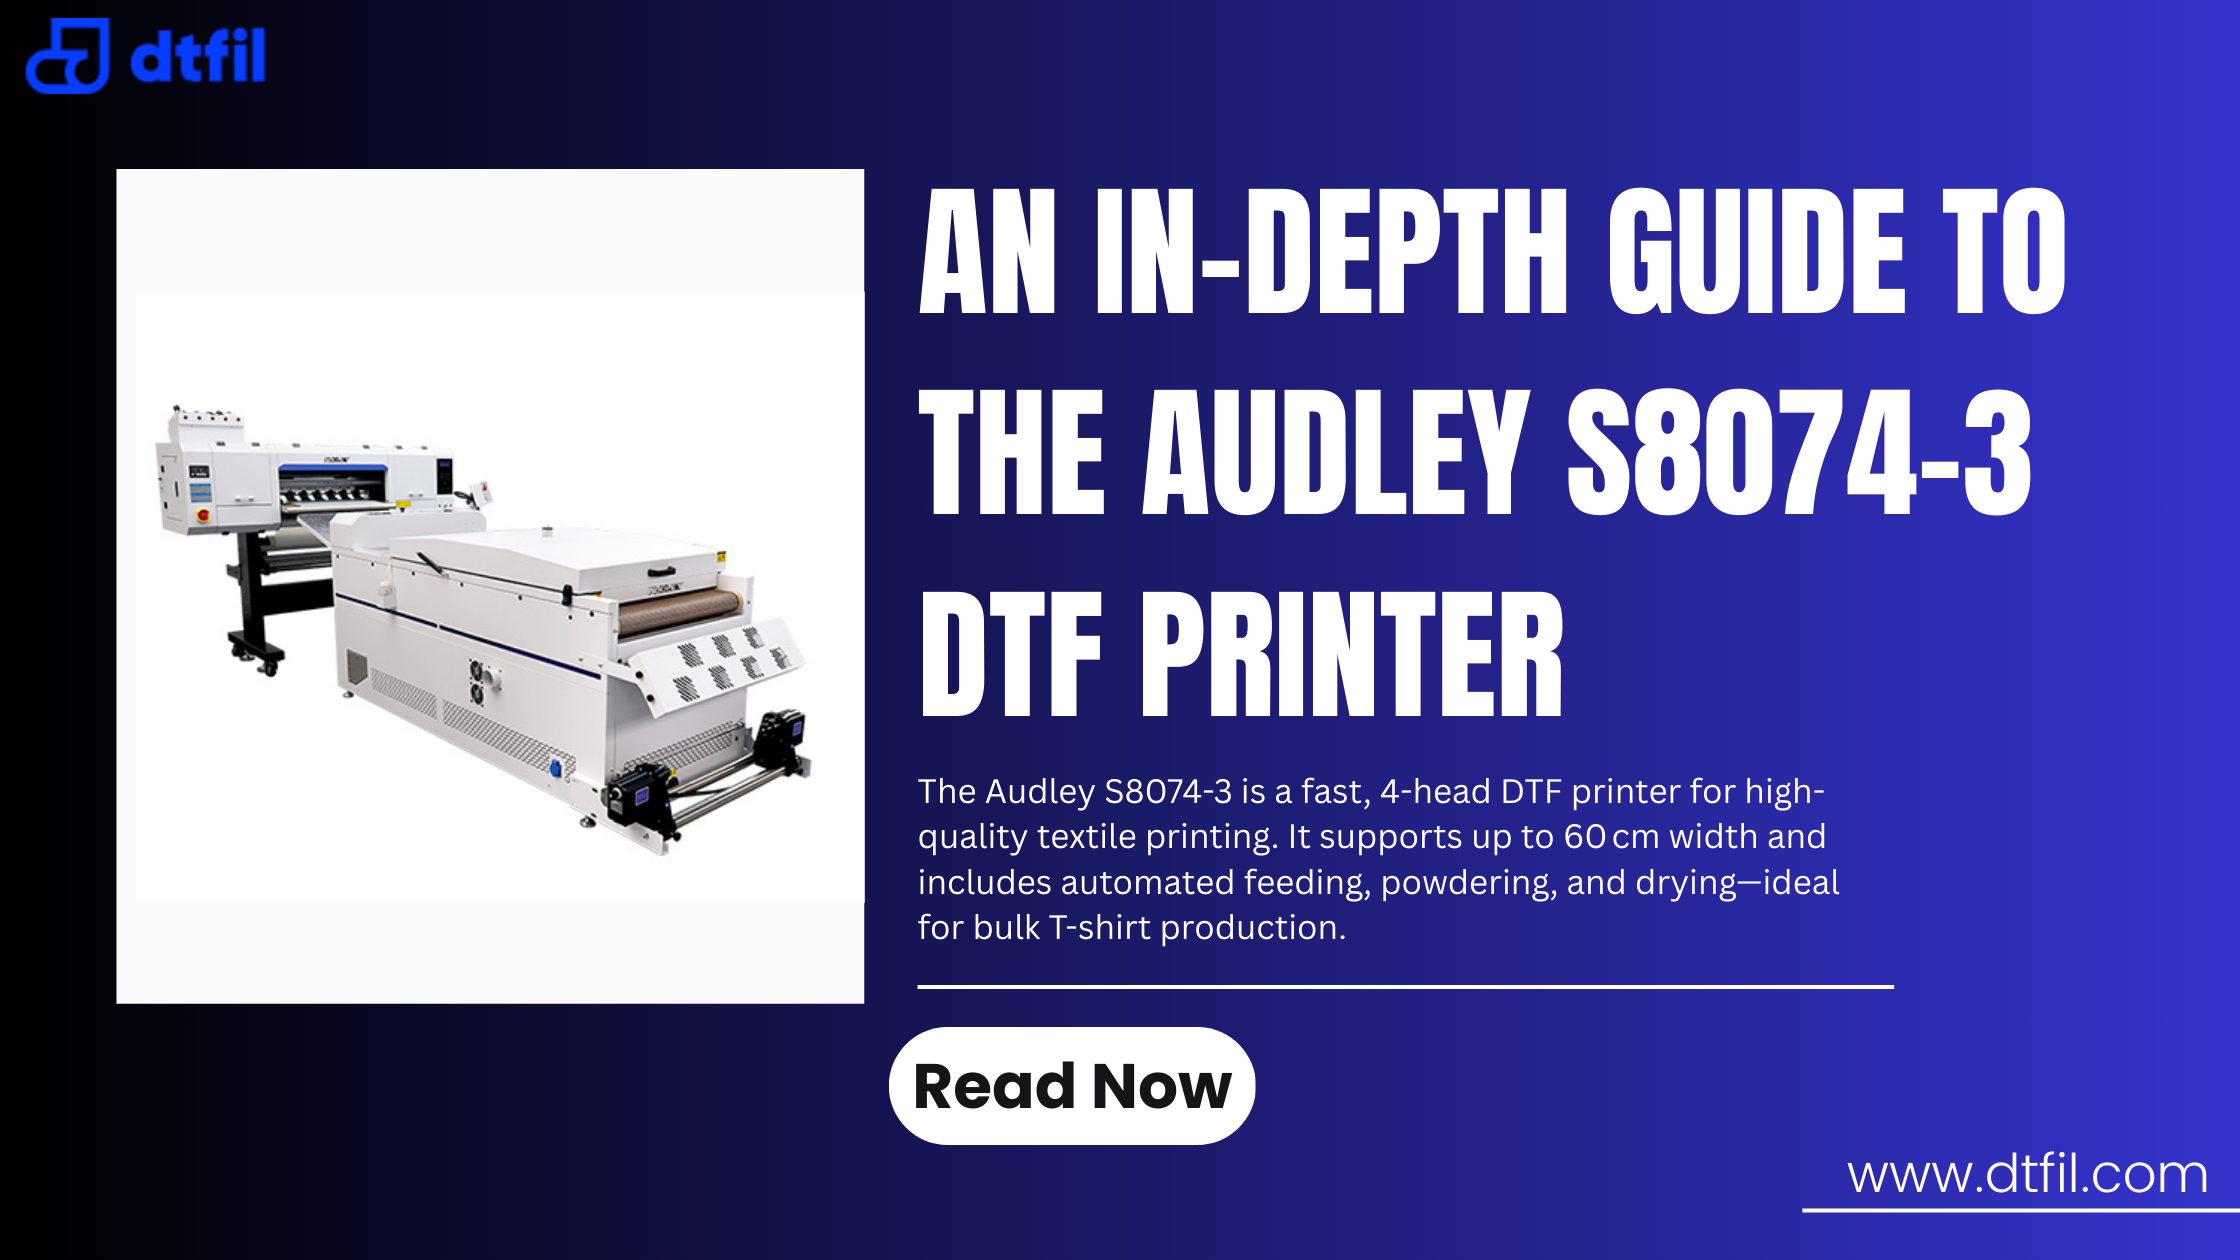
A curing oven for DTF, often a conveyor dryer or a flash dryer, is the professional's choice for consistency and volume.
-
How it Works: The powdered transfer is placed on the conveyor belt or inside the oven chamber. It moves through a tunnel of consistent, controlled heat for a set amount of time.
-
Ideal Temperature and Time: The general DTF temperature and time guideline for ovens is 100-110°C (212-230°F) for 2-3 minutes. Always refer to the specifications of your specific DTF powder and oven, as slight variations can occur.
-
Advantages:
-
Consistency: Provides even, all-over heat distribution, eliminating cold spots.
-
Efficiency: Perfect for high-volume production, as you can cure multiple sheets in a continuous flow.
-
Hands-Off: Once set, the process is automated.
Method 2: Using a Heat Press
For many startups and home-based businesses, learning how to cure DTF powder with a heat press is a more accessible and cost-effective entry point.
-
How it Works: The powdered transfer is placed on the lower platen of the heat press, usually on a silicone sheet or Teflon sheet to prevent sticking. The press is then closed to apply heat and light pressure.
-
Ideal Temperature and Time: The best temperature for curing DTF with a heat press is slightly higher to compensate for the lack of circulating air. Aim for 110-120°C (230-250°F) for 60-90 seconds.
-
Advantages:
-
Cost-Effective: Utilizes equipment you likely already own.
-
Accessibility: A great way to start without investing in an oven.
-
Disadvantages:
-
Capacity: You can cure one sheet at a time, making it slower for large orders.
-
Risk of Inconsistency: Ensuring the entire sheet receives even heat can be tricky, potentially leading to under-cured edges.
Read more blog: Guide to Print DTF Transfers for the Best Results
Step-by-Step: How to Cure DTF Prints for Perfect Results

Follow this universal process regardless of your equipment to ensure you master how to cure DTF transfers.
-
Shake Off Excess Powder: After applying the powder to your wet printed film, gently shake off all the excess powder that hasn't stuck to the ink. A dedicated powder shaker makes this quick and clean, but it can be done manually over a collection tray.
-
Preheat Your Equipment: Whether using an oven or a heat press, allow it to fully preheat to your target curing temperature. Use an infrared thermometer to verify the actual platen or chamber temperature for accuracy.
-
Load the Transfer:
-
Oven: Place the sheet powder-side-up on the conveyor belt.
-
Heat Press: Place the sheet powder-side-up on the lower platen. Use a silicone sheet on top of the transfer to protect your heat press from any potential adhesive residue.
-
Apply Heat:
-
Oven: Let the conveyor carry the sheet through the tunnel for the required curing time (2-3 mins at 100-110°C).
-
Heat Press: Close the press, ensuring it is set to the correct DTF heat settings (60-90 secs at 110-120°C). Apply very light pressure, just enough to keep the plate in contact with the transfer. Too much pressure can smear the design.
-
Check for Complete Cure: After the cycle, carefully remove the transfer. The powder should now be a clear, glossy, and smooth film. It should not feel tacky or show any visible dry powder. If it does, it needs more time.
-
Cool and Store: Allow the cured transfer to cool completely before stacking or storing it. Once cool, the sheet is stable and ready for its final heat press onto a garment.
Pro Tips for Flawless Curing
-
Invest in a Good Powder: The quality of your DTF powder directly impacts the curing process and final feel. A fine, high-quality powder will melt evenly and result in a softer print.
-
Don't Over-Cure: While under-curing is a common failure, over-curing can also be an issue. Excessive heat or time can cause the ink colors to yellow or the transfer to become brittle.
-
Mind Your Environment: Humidity is the enemy of DTF powder. A humid workspace can cause the powder to clump or absorb moisture from the air, leading to improper melting during curing. Store your powder in a dry, sealed container.
-
The Peel Test: The DTF hot peel vs cold peel decision comes after you press the transfer onto a garment. For the curing step itself, you are always handling a cold peel; you let the cured transfer cool completely before moving to the next step.
Do You Need a Curing Oven for DTF?

This is a common question for newcomers. The answer depends on your volume.
-
Hobbyists & Low Volume: You can absolutely start by learning how to cure DTF powder with a heat press. It is a capable and valid method.
-
Business & High Volume: If you plan to do more than a few sheets an hour, investing in a DTF oven dryer is a necessary step for growth. It drastically improves efficiency and consistency, which is crucial for professional results and customer satisfaction.
Final Thoughts
Understanding and perfecting the proper DTF curing method is what separates amateur results from professional-quality durability. It’s important behind-the-scenes process that ensures the vibrant design you printed becomes a long-lasting part of the garment. By controlling your DTF curing temperature and timing, you guarantee that every transfer you create has a greater chance of success.
Ready to achieve perfect cures every time? The foundation of a great cure is great powder. Explore the range of high-quality, consistently formulated DTF powders and essential curing equipment available at DTFIL. Our products are engineered to melt evenly and bond securely, giving you the professional results your customers deserve. Visit our website to shop now and elevate your DTF production!
FAQs
Q: What temperature do you cure DTF transfers at?
For a conveyor oven, cure at 100-110°C (212-230°F). For a heat press, cure at a slightly higher 110-120°C (230-250°F) to compensate for the lack of air circulation.
Q: What can I use to cure DTF?
You can use a dedicated DTF conveyor oven for best results or a heat press as a more affordable, low-volume option.
Q: Do I need a curing oven for DTF?
It is not strictly necessary to start; a heat press can be used. However, a curing oven is highly recommended for anyone serious about production, as it provides faster, more consistent, and more efficient results.
Q: How long does it take to cure DTF powder?
In an oven, the process takes 2-3 minutes. When using a heat press, it typically takes 60-90 seconds.
Read more blog:
