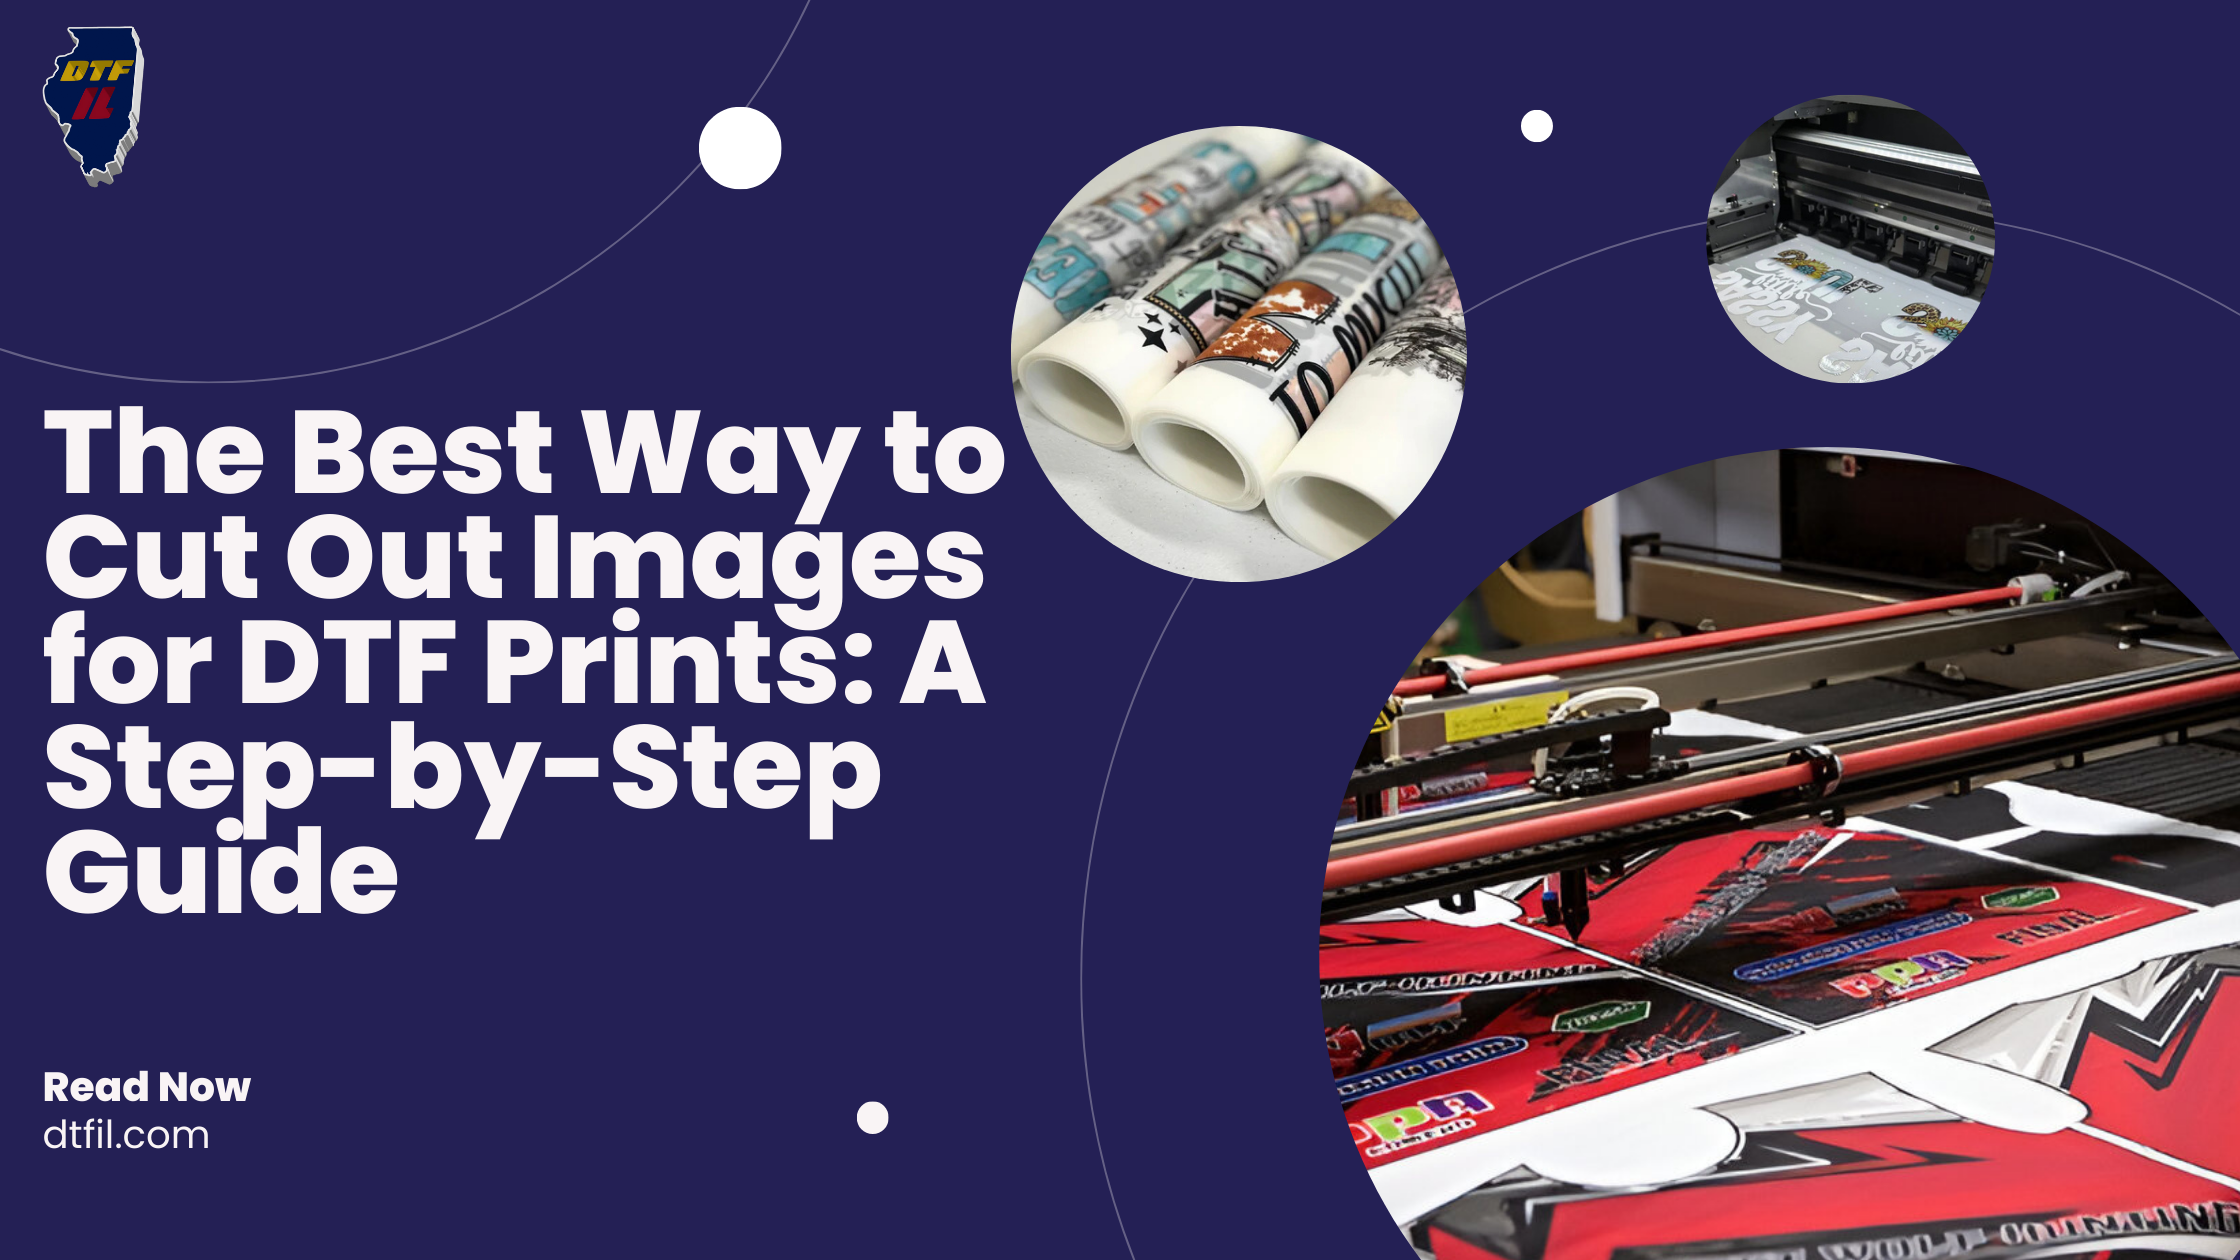
Cutting DTF transfer images isn’t just about removing the background, it’s the key to making your prints look sharp and professional. A messy cut can ruin a great design, leaving rough edges and awkward shapes.
But don’t worry! Learning the best way to cut out images for DTF prints will help you create clean, crisp designs every time. In this blog, we’ll show you how to print cut designs for T-shirt printing using simple tools and smart techniques.
So, grab your mouse (or scissors), and let’s make your DTF prints look perfect!
Introduction to DTF Printing
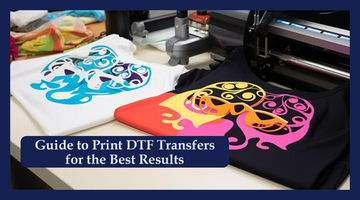
DTF (Direct-to-Film) printing is an advancement in the realm of custom printing, enabling vibrant and long-lasting designs on various types of fabrics. Unlike conventional methods, DTF printing allows for designs to be printed onto a special film, followed by the application of adhesive powder, which is then transferred onto the fabric using heat.
This technique guarantees high-quality DTF printing images with vivid colors, intricate details, and outstanding wash durability.
A significant benefit of DTF printing is its adaptability. Regardless of whether the fabric is cotton, polyester, or a blend, images for DTF printing adhere seamlessly without requiring pre-treatment.
Do you need to cut DTF transfer?

A precise cut can greatly impact your DTF transfer! If your graphic has jagged edges or unwanted background elements, it can compromise the final print, resulting in an unprofessional appearance. The best way to cut out images for DTF prints is to maintain sharp edges and smooth details, ensuring your design transfers seamlessly onto fabric.
Proper cutting guarantees that only the desired design is printed, avoiding any excess film that could detract from the final product. Whether you utilize a digital tool or a cutting machine, accuracy in cutting is crucial for achieving impeccable DTF prints.
Step-by-Step Guide to Cutting Out Images for DTF Prints
1. Prepare Your Image
Start by ensuring your image is high-resolution and properly formatted for DTF printing. Use image editing software to clean up any unwanted background and refine the edges. The cleaner your image, the easier the cutting process will be.
2. Select Your Cutting Tool
Choose the right cutting tool based on your design's complexity. A precision knife is great for small, detailed designs, while a digital cutting machine like Cricut or Silhouette works best for larger or repetitive designs. Make sure the tool is sharp to ensure smooth cuts.
3. Use a Cutting Mat
Place your material on a self-healing cutting mat to protect your surface and ensure clean cuts. The grid lines on the mat also help align your design for more accurate cuts.
4. Set Up Your Cutting Machine (if applicable)
If you’re using a cutting machine, load your image into the machine’s software. Adjust the blade depth and pressure based on the material you’re cutting. Run a test cut to ensure the settings are correct and make adjustments if necessary.
5. Cut the Image
Carefully follow the outline of your design, whether by hand or machine. For intricate details, take your time and work slowly to ensure precision. Keep an eye on the material’s edges and avoid cutting too deep into the design.
6. Weed the Excess Film
Once the design is cut, it’s time to weed. Use weeding tools or tweezers to carefully remove the extra film from around your design, leaving only the print that will transfer. Be gentle to avoid tearing or damaging delicate areas of the design.
7. Final Touches
Inspect your design for any imperfections and make sure all areas are clean and smooth. If necessary, trim any small edges that need to be touched up before the transfer.
Troubleshooting Common Image Cutting Problems
Even with the best way to cut out images for DTF prints, sometimes things don’t go as planned. Here’s how to troubleshoot some common image-cutting issues to ensure your DTF transfer images turn out flawless:
-
Blurry Edges: If your design looks blurry after cutting, it might be because the resolution of the original image is too low. Make sure you're using high-quality images for DTF printing with enough resolution to keep your cuts crisp and clear.
-
Uneven Cuts: Uneven cuts can occur if your image isn’t properly traced or your cutting mat isn’t level. Use a straight edge or ruler to guide your cuts, and ensure your image is aligned perfectly before cutting.
-
Cutting Through the Design: This often happens when the image is too small or the cutter’s blade settings are too deep. Double-check your image size and cutting depth to avoid cutting into the actual design. Always test on a scrap piece of material first.
- Residue Left Behind: If excess film is left around your design, it can be tough to peel away. Use a weeding tool or tweezers to gently remove the extra film. If it's too sticky, try chilling the design in the fridge for a few minutes to make it easier to peel.
Best Practices for Cutting Out Images for DTF Prints

When it comes to cutting out images for DTF printing, using the Best Way to Cut Out Images for DTF Prints is key to ensuring crisp, professional results. Let’s see some of the best practices to help you achieve perfect cuts every time:
1. Weed Gently: After cutting, use weeding tools or tweezers to remove the excess film carefully. Take your time to avoid damaging the edges of your DTF transfer images.
2. Outline Your Design Carefully: Before cutting, make sure to define the edges of your design using image editing software.
3. Use High-Quality Images: Start with clear, high-resolution DTF printing images. Low-quality images can result in pixelation and blurry edges, making it harder to get a clean cut.
4. Choose the Right Cutting Tool: If you’re using a precision knife for small details or a cutting machine for larger designs, ensure you use the right tool for the job. A digital cutting machine offers precision and efficiency, especially for mass production.
Conclusion
Mastering the Best Way to Cut Out Images for DTF Prints is an essential skill for creating high-quality DTF printing images that stand out. From choosing the right software to using sharp blades and cutting machines, each step plays a crucial role in achieving flawless results.
Anyone can get a high-quality printer, but it takes true expertise to master the craft. At DTFIL, we dive deep into every detail. From alignment to humidity, film selection to adhesive ratios to guarantee your prints are flawless every time.
Visit us now and let’s bring your designs to life with unmatched precision and quality!
FAQs
Q: How do you cut DTF transfers?
The Best Way to Cut Out Images for DTF Prints is by using precision tools like the Pen Tool in Photoshop or cutting machines. Ensure smooth edges for high-quality DTF transfer images.
Q: What steps should be taken with images when preparing a file for printing?
To prepare images for DTF printing, remove backgrounds, refine edges, and save in PNG with a transparent background. Maintain 300 DPI resolution for sharp DTF transfer images.
Q: What is the best heat press setting for DTF?
Set the heat press to 300-315°F for 10-13 seconds. Apply firm pressure, then peel hot or cold based on film type for the best DTF transfer images results.
Q: Which mode do you need to use to prepare the image for offset printing?
Use CMYK color mode to ensure accurate color reproduction. This is crucial for maintaining print quality in images for DTF printing and other print formats.
Q: How to prep a file for print?
The Best Way to Cut Out Images for DTF Prints is by removing backgrounds, adjusting DPI, and saving in PNG. Ensure the correct color mode for vibrant DTF transfer images.
Read more blogs: