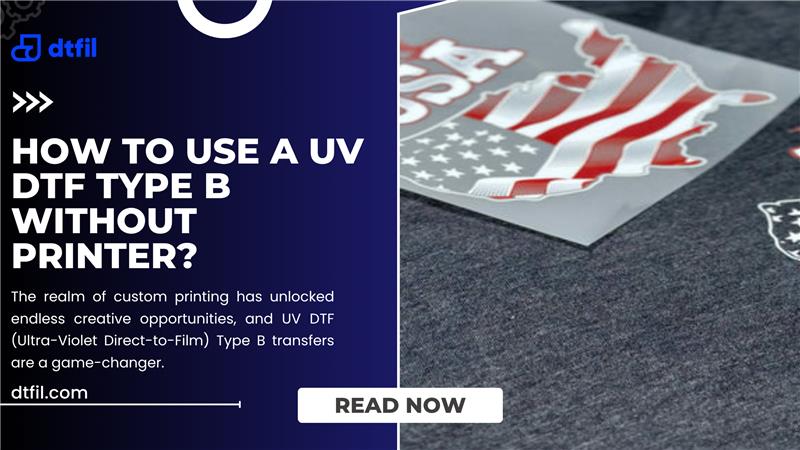
Direct-to-film printing has become increasingly popular in the last few years due to its high-quality output and adaptability. Whether one is a seasoned pro or just starting, knowing how to press DTF transfers correctly will determine the quality of the final output. In this blog, we'll go over some professional advice on pressing DTF transfers, including the equipment, settings, and methods to ensure your patterns are flawless every time.
What is DTF Printing?
First, understand what exactly DTF printing is and why it's become a go-to method for so many garment decorators before diving deep into the pressing process. DTF printing includes the process of printing designs onto a special film, applying a powder adhesive, and then transferring the design onto the fabric with the aid of a heat press. It allows for some vibrant and long-lasting prints onto cotton, polyester, and blends in large part.
Tools You'll Need for Pro Results
Tools required to press DTF transfers like a pro:
- DTF Transfer Film: This is the film with your design printed on it.
- Heat Press Machine: A good heat press machine will give consistent results.
- Heat-Resistant Tape: Hold the transfer in place.
- Parchment Paper or Teflon Sheet: Protect both the transfer and the fabric from heat during pressing
- Lint Roller: Clean dust and other dirt from the fabric.
Also Read: What is UV DTF? The Game-Changing Technology in Custom Printing
Step-by-Step Guide: How to Press DTF Transfers
1. Prepare Your Workspace
- The very first thing you want to do is to set up your workspace. The heat press has to be on a level and stable surface. Heat the press to the recommended temperature. This is normally between 300°F and 325°F, depending on your fabric.
2. Prepare the Fabric
- Before applying the DTF Transfer, take a lint roller and run it over the fabric. This will remove any dust or lint that's on there and allow the transfer to be smooth and even.
3. Position the DTF Transfer
- Position the fabric on the heat press. Place the DTF transfer face down on the fabric. If necessary, secure it with heat tape.
4. Heat Press Settings
The proper heat press setting for DTF transfers is essential to have a good transfer. Set your press with the correct Temp, pressure, and time:
- Temp: Normally, DTF transfers will be done between 290°F to 325°F.
- Pressure: Medium to High Pressure
- Time: The transfer process typically takes 10 to 20 seconds. You are probably wondering how long to press DTF transfers. We will go deeper into this a bit later.
Also Read: What Does DTF Mean in Printing? Debunking Myths and Facts
5. Press the Transfer
- Now, lower the heat press and press for the recommended time. Again, this is based upon the transfer and fabric used but is normally in the range of 10 to 20 seconds. If you use a Cricut heat press, the process is basically identical. So, if you are asking how to press DTF transfers with Cricut heat press, the answer is the same: just follow these steps, adjusting the time and temperature appropriately.
6. Peel the Transfer
- After pressing, carefully peel the film away from the fabric. Most DTF transfers are hot peel; some are cold peel. If it is a hot peel, you will be able to remove the film while still warm. If it's a cold peel, you must wait for it to cool completely before peeling.
7. Post-Pressing
- You can once again iron the fabric for just a few seconds with a Teflon sheet on top of it, to lock in your design and even the finish. Some professionals ask, Do you press DTF transfers twice? While this is not always necessary, it can improve durability.
Tips and Tricks for Perfect DTF Transfers

- Test First: Always test on scrap fabric or a less-important piece before you make transfers to your finished product. This enables you to get the right settings and avoids mistakes.
- Quality Materials: Quality transfer films, inks, and adhesive powder are important for delivering a quality finish.
- Pressure: Be certain of even pressure across the entire transfer. This is because uneven pressure can cause parts of the design to not adhere properly.
- Avoid Overheating: Be careful not to overpress your DTF transfers. Excessive heat distorts the design or causes it to lose vibrancy.
- Use parchment paper: With one on top of the transfer to help protect both the fabric and your heat press from damage.
Also Read: DTF Transfer Printing vs Other Methods: DTG, Screen Printing, and Sublimation
Developing the proper DTF transfer pressing technique is crucial to creating designs that are robust and of excellent quality. You can consistently produce professional results by paying attention to your heat press settings and following the above-described processes. These pointers and techniques will assist you in perfecting the art of DTF printing, whatever your level of competence.
Explore our top-quality DTF transfers at DTFIL and achieve professional results with every press. Shop now for the best in DTF technology!
FAQs
How do I press a DTF image?
Place the DTF transfer onto your fabric, adjust the pressure and temperature on your heat press, and press for the suggested amount of time—typically 10 to 20 seconds. Peel the film according to the instructions on the transfer.
What heat press settings for DTF transfers?
Press for 10 to 20 seconds while the heat press is set to 300°F to 325°F and medium to high pressure.
What temperature do you use for DTF transfers?
Depending on the type of fabric, the optimal temperature for DTF transfers is between 290°F and 325°F.
Do you press DTF transfers twice?
Although it's not required, pressing twice can strengthen and stabilize the design.
How long does it take to heat press a transfer?
Typically, DTF transfers take 10-20 seconds to press, depending on the fabric and transfer type.
Can you press DTF for too long?
Yes, pressing for too long can overheat the transfer, causing it to lose vibrancy or distort. Always follow the recommended pressing time.


